


Does the constant barrage of spam comments and fake registrations drive you crazy? You can stop the madness instantly by adding reCAPTCHA to your WordPress site. This powerful security tool blocks malicious bots while letting real humans pass through with ease.
You don’t need complex code to set it up, either. We will walk you through four proven, simple methods to secure your forms and protect your data today.
TL;DR: Implementing reCAPTCHA in WordPress Quickly and Securely
- reCAPTCHA protects your WordPress site from spam comments, fake registrations, and brute force login attacks.
- Choose between reCAPTCHA v2 checkbox, invisible v2, or v3 score-based protection.
- You can add reCAPTCHA using form plugins, a site-wide security plugin, or manual code.
- Always test your setup, ensure GDPR compliance, and combine reCAPTCHA with other security measures for full protection.
Understanding reCAPTCHA in WordPress and Why It Matters for Spam Protection
Google reCAPTCHA is a free security service that protects your website from spam and abuse. It uses an advanced risk analysis engine to keep automated software from engaging in abusive activities on your site.

For a WordPress site, this means blocking fake user registrations, preventing brute-force attacks on user accounts, and stopping spam comments before they ever reach your dashboard.
The technology has evolved significantly. While early versions required users to decipher distorted text (which was often frustrating), modern iterations are far more user-friendly.
Types of reCAPTCHA for WordPress Sites
Before you integrate reCAPTCHA, it is crucial to choose the right version for your needs:
- reCAPTCHA v2 (Checkbox): This is the classic “I’m not a robot” checkbox. It requires the user to click a box. If the system is suspicious, it challenges the user to identify objects in a set of images (e.g., “Select all traffic lights”).
- reCAPTCHA v2 (Invisible): This version does not require the user to click a checkbox. Instead, it is invoked when a user clicks an existing button on your site, such as a submit button. The verification happens in the background.
- reCAPTCHA v3: This is the newest version and offers the best user experience. It returns a score for each request without user interaction. It allows you to verify interactions behind the scenes, so valid users can log in or comment without interruption, while suspicious traffic is blocked or flagged.
Strengthen Your WordPress Security Today
Stop spam, bots, and cyber threats before they harm your site with expert WordPress security protection.
Why You Should Add reCAPTCHA to Your WordPress Website?
The primary reason to add reCAPTCHA is security, but the benefits extend further:
- Prevents Comment Spam: It stops bots from posting irrelevant links and malicious content on your blog posts.
- Secures Login Pages: It prevents brute-force attacks where bots try thousands of password combinations to hack admin or user accounts.
- Protects Registration Forms: It stops bots from creating thousands of fake accounts that bloat your database.
- Saves Time: You spend less time moderating spam and more time managing your content.
Where to Add reCAPTCHA in WordPress for Maximum Protection?
To fully protect your site, you should not limit CAPTCHA to just one page. Consider implementing it on:
- WordPress Comment Form: The most common target for low-level spam bots.
- Login and Registration Pages: Critical for preventing unauthorized access.
- Password Reset Pages: Prevents bots from initiating unauthorized password resets.
- Contact Forms: Ensures that the emails you receive are from real people.
4 Easy Methods to Implement reCAPTCHA in WordPress
Here are four distinct ways to set up this security feature, ranging from beginner-friendly plugins to manual coding.
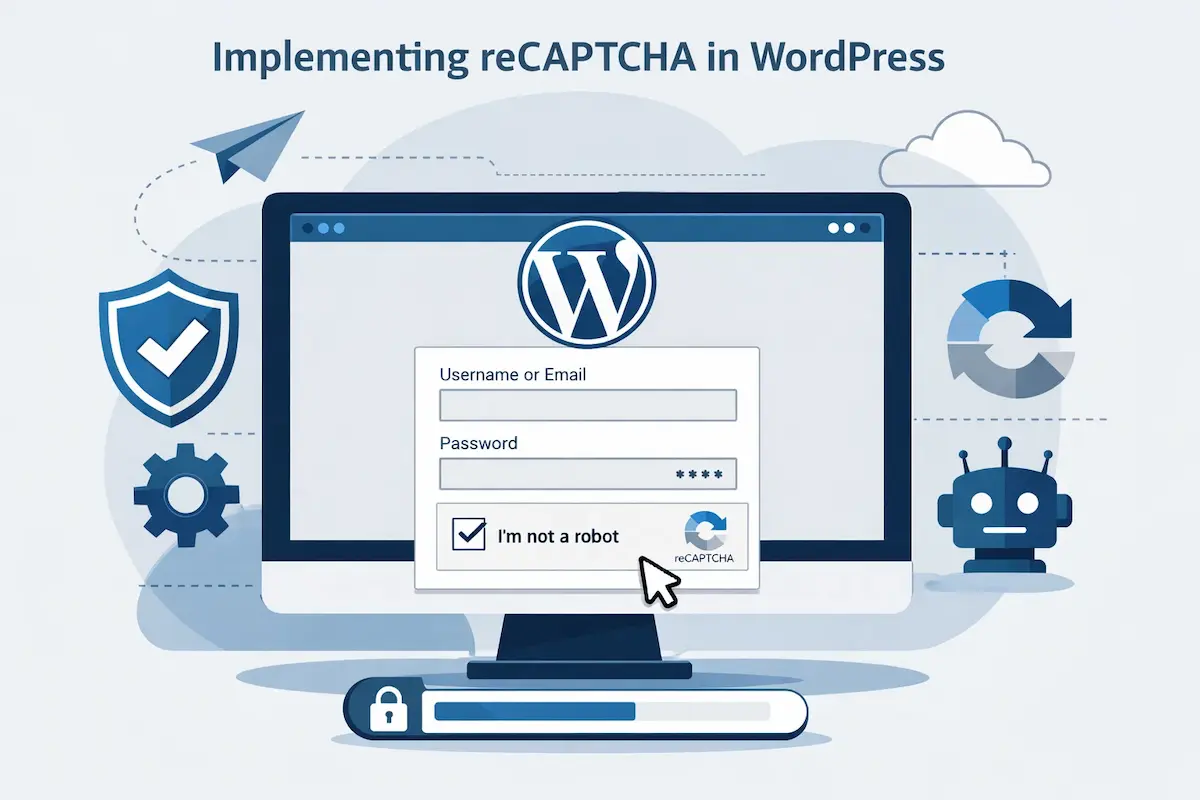
Method 1: Register Google reCAPTCHA and Generate Site Key and Secret Key
Before using any plugin or code, you must register your domain with Google to get your API keys. These keys act as a bridge between your website and Google’s servers.
- Navigate to the Google reCAPTCHA Admin Console website.
- Sign in with your Google account.
- On the registration page, look for the “Register a new site” section.
- Enter a name for your site (e.g., “My Business Blog”).
- Choose between v2 (Checkbox or Invisible) or v3 (Score-based). Note: Ensure you choose the type supported by the plugin you plan to use.
- Enter your website’s domain name (e.g., example.com). You can add multiple domains if needed.
- Your email is added by default. You can add other owners if necessary.
- Accept the reCAPTCHA Terms of Service.
- Check this box if you want Google to send alerts if it detects a misconfiguration or a spike in suspicious traffic. Click Submit.
Once you click submit, you will see a page displaying your Site Key and Secret Key. Keep this tab open or copy these keys to a safe text file; you will need to paste them into your WordPress settings shortly.
Method 2: Add reCAPTCHA in WordPress Using a Plugin
The easiest way to integrate reCAPTCHA is through your existing plugins. Most modern WordPress tools include built-in settings to add spam protection without touching a single line of code.
This method is ideal if you need to secure specific areas, such as a contact form, login page, or checkout flow.
Here are the most popular plugins that allow you to add reCAPTCHA seamlessly:
- WPForms: This user-friendly form builder offers native support for Google reCAPTCHA. You can enable it in the settings panel to protect contact forms, user registration, and login forms from spam.
- MemberPress: This membership plugin supports reCAPTCHA on login and registration forms. It is essential for preventing fake user accounts from cluttering your membership database.
- WooCommerce: You can secure your online store by adding reCAPTCHA to the login, registration, and checkout pages. This often requires specific extensions or theme integrations.
- Wordfence: Primarily a firewall and scanner, Wordfence includes robust login security features that integrate with reCAPTCHA to stop brute-force attacks.
Method 3: Add reCAPTCHA v3 Site Wide in WordPress
For comprehensive protection across your login, registration, and comment form simultaneously, a dedicated plugin like “Advanced Google reCAPTCHA” is the best solution. This method allows you to apply reCAPTCHA v3 globally with just a few clicks.
- In your dashboard, go to Plugins → Add New.
- Search for “Advanced Google reCAPTCHA”.
- Click Install and then Activate.
- Go to the plugin’s settings page (usually under Settings → Advanced Google reCAPTCHA).
- Select the reCAPTCHA type (v2 or v3) that matches the keys you generated in Method 1.
- Paste your Site Key and Secret Key.
- Click Verify Captcha to ensure the keys are working correctly.
- Once verified, scroll down to the “Where to Enable” section.
- Check the boxes for the login form, registration form, lost password form, and comment form. Click Save Changes.
This method is highly efficient because it centralizes your security settings. You don’t need to edit individual forms; the plugin automatically injects the necessary scripts into the footer or form areas of your WordPress site.
Method 4: Manually Implement reCAPTCHA in Custom WordPress Forms
If you are a developer or using a custom-built theme without standard hooks, you may need to add the code manually. This involves editing your theme files, so always back up your site first.
Step 1: Load the JavaScript API: Add the following code to your theme’s header.php or use wp_enqueue_script in your functions.php file:
function load_recaptcha_script() {
    wp_register_script('google-recaptcha', 'https://www.google.com/recaptcha/api.js', array(), null, true);
    wp_enqueue_script('google-recaptcha');
}
add_action('wp_enqueue_scripts', 'load_recaptcha_script');
Step 2: Add the HTML Markup: In your custom form file (e.g., page-contact.php), add the following line just before the submit button:
<div class="g-recaptcha" data-sitekey="YOUR_SITE_KEY"></div>(Replace YOUR_SITE_KEY with your actual public key).
Step 3: Verify the Response Server-Side: When the user clicks the submit button, Google sends a response token. You must verify this in your PHP processing logic:
if ($_SERVER['REQUEST_METHOD'] == 'POST') {
    $recaptcha_secret = 'YOUR_SECRET_KEY';
    $recaptcha_response = $_POST['g-recaptcha-response'];

    $response = wp_remote_get("https://www.google.com/recaptcha/api/siteverify?secret={$recaptcha_secret}&response={$recaptcha_response}");
    $response_body = wp_remote_retrieve_body($response);
    $result = json_decode($response_body);

    if ($result->success) {
        // Validation successful, process the form
    } else {
        // Validation failed, show an error
        echo "Please verify that you are not a robot.";
    }
}
This manual approach gives you total control over how the data is handled and how errors are displayed to the user.
How to Test and Troubleshoot reCAPTCHA in WordPress?
After you save changes and deploy reCAPTCHA, you must verify it is working.
- Use Incognito Mode: Open your website in an Incognito/Private window. If you are logged in as an administrator, some plugins automatically hide the CAPTCHA to improve your experience.
- Test the Failure: Intentionally try to submit a form without checking the box (for v2) or while acting like a bot (filling fields instantly) to see if it catches you.
- Check for “Invalid Key” Errors: If you see an error saying “ERROR for site owner: Invalid key type,” you likely selected “v2” in the plugin settings but generated “v3” keys in Google, or vice versa. The key pair must match the version exactly.
- Inspect the Console: Right-click on your page, select “Inspect,” and look at the “Console” tab. Red text usually indicates JavaScript conflicts preventing the captcha from loading.
Read More: The Ultimate WordPress Security Checklist
reCAPTCHA and GDPR Compliance for WordPress Websites
Privacy laws like GDPR (General Data Protection Regulation) are strict about how you handle user data. Because Google reCAPTCHA (especially v3) tracks user behavior to distinguish humans from bots, it collects personal data (cookies, IP addresses, mouse movements).

To remain compliant:
Update Privacy Policy: Explicitly state in your privacy policy that you use Google reCAPTCHA and link to Google’s Privacy Policy and Terms of Service.
Consent Banner: For users in the EU, you must obtain consent before loading the reCAPTCHA script. Many cookie compliance plugins can handle this by blocking the script until the user clicks “Accept”.
Hiding the Badge: If you use reCAPTCHA v3 (invisible), Google allows you to hide the floating badge as long as you visibly link to their policies in your form.
- You can hide the badge using CSS: .grecaptcha-badge { visibility: hidden; }
- However, you must add the following text near your submit button: This site is protected by reCAPTCHA, and the Google Privacy Policy and Terms of Service apply.
Best Practices to Strengthen WordPress Security Beyond reCAPTCHA
While adding Google reCAPTCHA is a vital step, it should not be your only line of defense.
- Limit Login Attempts: Use plugins to temporarily block IP addresses after a specified number of failed login attempts.
- Two-Factor Authentication (2FA): Require a code from a mobile app in addition to a password for all user accounts.
- Keep Plugins Updated: Spam bots often exploit vulnerabilities in outdated plugins.
- Use a Web Application Firewall (WAF): Services like Cloudflare can filter out bad traffic before it even hits your server.
Conclusion
Learning how to implement reCAPTCHA in WordPress is one of the most effective “set it and forget it” security measures you can take. Whether you choose the seamless reCAPTCHA v3 or the familiar checkbox of v2, the protection it offers against spam comments and malicious logins is invaluable.
By following the steps of registering your site, choosing the right implementation method, and testing thoroughly, you ensure your WordPress website remains a welcoming place for humans and a fortress against bots.
Don’t wait until your inbox is flooded with spam. Register your site today, generate your keys, and secure your forms for good.
FAQs About Implementing reCAPTCHA in WordPress
How do I configure reCAPTCHA in WordPress correctly?
First, generate your key pair from the Google reCAPTCHA console. Then install a plugin such as Advanced Google reCAPTCHA. Open the settings page, enter your Site Key and Secret Key, and save changes. Enable protection for your login page, WordPress comment form, and other forms as needed.
How do I integrate reCAPTCHA into the WordPress comment form?
After you configure the plugin, enable reCAPTCHA for the comment form in the settings. The plugin will automatically insert the verification on your WordPress comment form. Clear the cache and refresh your page to confirm it appears.
What should I do if reCAPTCHA is not showing on my site?
Check that your key pair matches the selected version. Verify the correct domain URL in the Google console. Clear your cache, refresh your browser, and check the console for JavaScript errors to resolve loading issues.
Can I use Advanced Google reCAPTCHA site-wide?
Yes. Advanced Google reCAPTCHA lets you protect login, registration, lost password, and comment form areas from one dashboard. Configure the settings and select where you want protection enabled.
Where can I find official documentation to solve errors?
Visit the Google reCAPTCHA documentation for setup details and error codes. It explains key-pair validation, domain URL mismatches, and server-side verification steps to resolve common integration issues.

